Photographing a car
Below is a list of 28 photos. They will require 20-30 mins to take. They will greatly help us in determining the current condition of your car. Do the best you can, we are keen to see the results.
- 1.
- Photo of the chassis plate.
Typically there is a manufacturers plate in the engine compartment. Usually it contains the chassis number (VIN) and engine number. 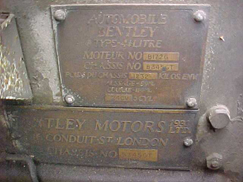
- 2.
- Photo of the engine number on the engine.
Note: it may look different than the photo. 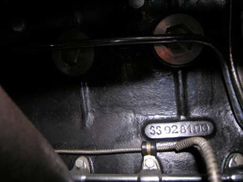
- 3.
- Photo of the Chassis number on the chassis.
Note: it may look different than the photo. 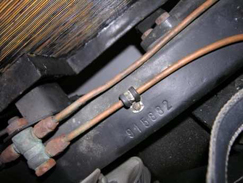
- 4.
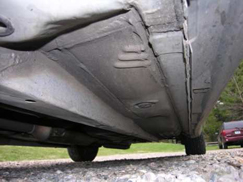
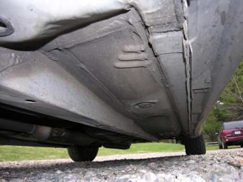
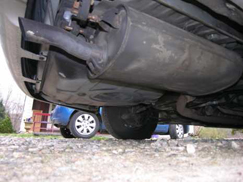
- First we will start with shots of the undercarriage. Place the camera on the ground just behind the passengers front wheel facing the rear of the car. Point upwards at a 45 degree angle (in short - pointing rearwards & slightly up). CLICK.
- Think for a minute: How far under the car will I need to put the camera and at what angle to really show the floors?
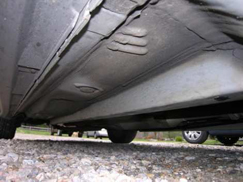
- 5.
- Place the camera just in front of the rear wheel, pointing forward and at a 45 degree angle. Click.
- 6.
- Place the camera on the ground just behind the drivers front wheel facing the rear of the car. Point upwards at a 45degree angle ( in short - pointing rearwards & slightly up). CLICK.
- 7.
- Place the camera just in front of the drivers side rear wheel, pointing forward and at a 45 degree angle. Click.
- 8.
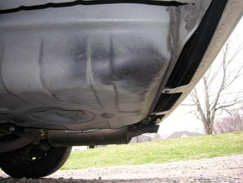
- Place the camera on the ground, under the trunk (passenger side). Aiming from the passengers side across to the drivers side. Aiming up at a 45 degree angle. Click.
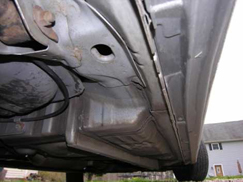
- 9.
- lace camera on the ground under trunk floor drivers side. Aiming up at a 45 degree angle. These two shots (7 & 8) should show me the condition of the trunk floor.
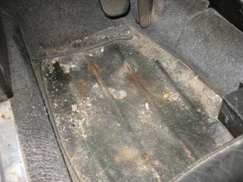
- 10.
- Remove driverside carpets and photograph floor.
- 11.
- Same passengers side. Remove carpets etc and photograph passengers floor.
- 12.
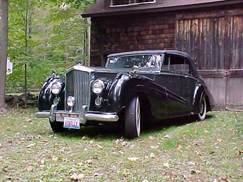
- Front overall 3/4 shot. Showing front and passengers side.
- 13.
- Front overall 3/4 shot. Showing front and drivers side.
- 14.
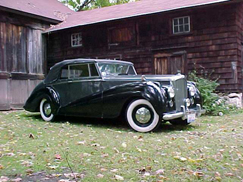
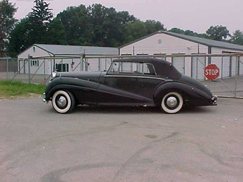
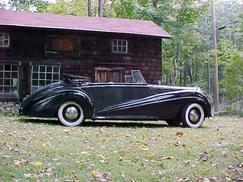
- Side shot showing entire drivers side.
- 15.
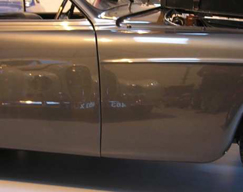
- Close up of drivers door showing seam where door meets front fender.
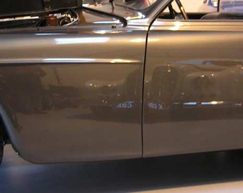
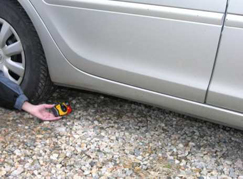
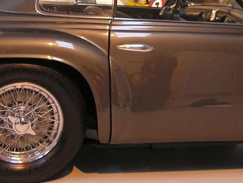
- 16.
- Shot of drivers rocker and bottom of rear fender dogleg.
- 17.
- Exterior Shot of the entire passengers side.
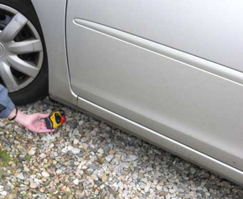
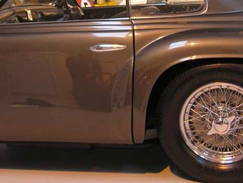
- 18.
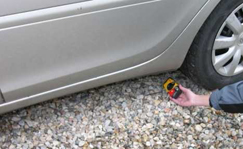
- Shot of passengers rocker, bottom of front fender. You need to get at eye level with the door.
- 19.
- Shot of passengers rocker and bottom of rear fender dogleg.
- 20.
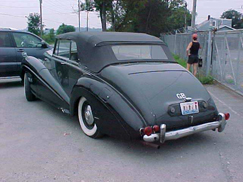
- 20 Photo of rear body work, trunk area.
- 21.
- Lift trunk lid, remove spare wheel and empty other stuff from trunk. Photo of trunk.

- 22.
- Photograph the stuff that was in the trunk. Jack, tools, spare parts.

- 23.
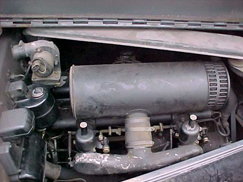
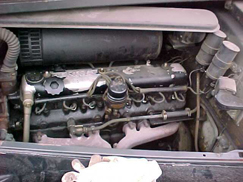
- Lift hood take two photos of engine. Stand along side passengers front wheel and shoot, looking into engine compartment.
- 24.
- Next stand at drivers front wheel and shoot.
- 25.
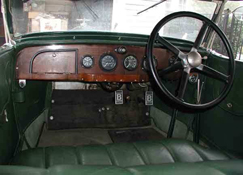
- Cockpit. Open drivers door and photograph dash and steering wheel.
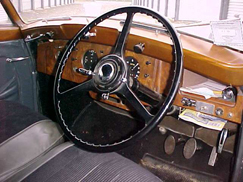
- If you have rear seats, then the absolute best is to get into the back seat and photograph the dash from side to side.
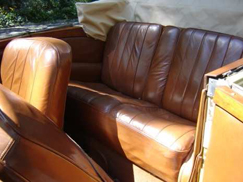
- 26.
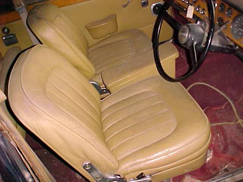
- Photograph drivers seat.
- 27.
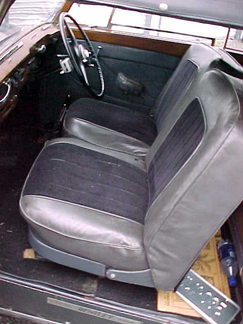
- Open passengers door and photograph passengers seat.
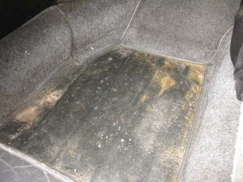
- 28.
- With passengers door open, lean both front seats forward and photograph rear area.
- Use remaining photos to shoot anything else that you think we need to see. Damage, rust, extra parts. Anything a buyer might like to know about.
"Do what you can, with what you have, where you are.